
Applying Blusher For Beginners
- The purpose of blusher is to add colour to the cheeks that differentiates from your beige tones of base and bronzer. Think of it like painting a picture but only using one shade this makes the image in the painting look ‘flat’. Adding several colours adds depth to the painting and therefore adds balance and proportion and works in a similar way for the face with blusher.
- It is important to know where to apply blusher and which type to make the most of your skin and your facial features.
- This is a step-by-step guide to wearing blusher for the beginner, keeping blusher application as simple as possible.
Types of Blushers
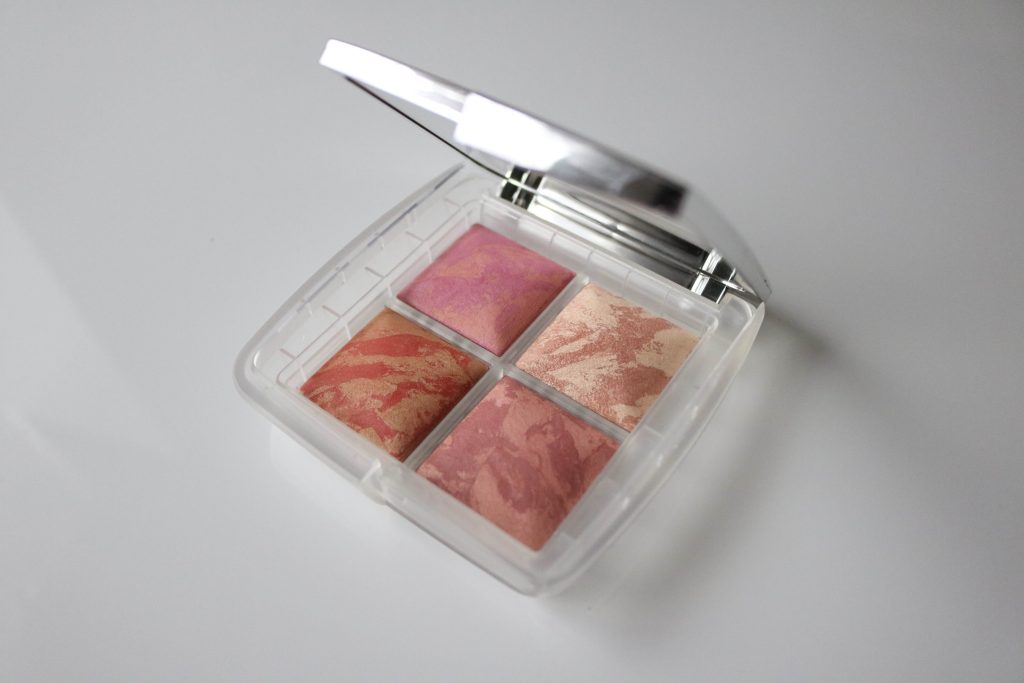
- There are 4 main types of blusher powder, cream, and liquid.
- Powder blushers are usually the easiest to apply and require a brush for application. Cream blusher is usually in a pan or a stick and has a creamy consistency. Some will remain creamy looking after application but others can look matt after application. For best application you would need to use a brush. The trickiest type of blusher to apply is the liquid blusher because it can stain the skin or separate the rest of your makeup very quickly and therefore needs extra careful application. I would say a brush always makes this type of blusher easier to control but you can use fingers.
- Powder blushers do come in matt and shimmery finishes so depending on preference and the look you were trying to achieve, a matt blusher looks better when you are going for a matt look or trying to contrast a glowy base. Shimmer blusher is great when you want something reflective and if skin is dry or dull this can be a great way to brighten it.
Choosing the Right Shade
- Choosing a blusher may be tricky but you can simplify it by following this simple rule. Once you have done your base, swatch your blusher on your hand or arm and hold it up next to your face. Look at if the colour ‘sticks out’ ‘works with’ or ‘blends in’. If it sticks out and doesn’t work with the other shade then it isn’t right. If it blends in and doesn’t make any difference then it’s not going to do anything. Pick the shade that ‘works with’ the other shade, as in you can see the colour looks like it matches but doesn’t become the only thing you look at.
- I mentioned that you can choose contrasting finishes based on the finish of your base. Now let’s look at the right texture of the blusher now. Powder is easy to see if it is matt or shimmery (has a sheen to it). Cream blushers tend to have a creamier finish and therefore can reflect the light and act more ‘skin like’ however the texture can sometimes be thick (which can make it more difficult to apply) or tacky so that it can feel heavy or move on top of makeup. It’s best to try it on your hand to detect what finish it has. Liquid blushers tend to be more matt and act more like a stain so are sometimes better used under foundation as they can stain through makeup and almost leave a patch. This is a little bit how a tear can leave a track through makeup. To keep it simple I would start by choosing the opposite of your base and finish and start with a powder for ease of application.
Preparing the Face
- It’s important to have your base prepared evenly before applying blusher as the smoother this is the smoother blusher will sit.
- Wait for makeup to dry before application of blusher especially if you have a ‘creamy’ or ‘glowy’ style foundation. This will allow application to be simpler and have the correct tool for application, as this will make applying blusher much easier.
Applying Blusher
- Applying powder blusher – Take an angled blusher brush (made with natural fibres, this prevents patchiness). Sweep the brush into the product and tap the brush. Place the point of the brush towards the nose and place the flat of the brush onto the apple of the cheek and sweep with a slight twist in the wrist after contact. Ensure you tap the brush so you don’t apply ‘too much’ colour.
- Applying cream blusher – Take a classic foundation brush and sweep the flat of the brush into your cream blusher pan or pot. Wipe the excess off the brush onto the back of your hand. Tap the flat of the brush onto the cheek area to transfer the product and repeat to blend. Sweep the brush very gently to avoid dragging the product.
- Applying liquid blusher – you can use the method above to apply liquid blusher but you can also use fingers if you feel confident. Pop some of the liquid onto the back of your hand. Pat two fingers into the product and try to about an inch in length of both fingers. Rub off the excess and pat onto the cheek area. Be gentle so you don’t break foundation or products underneath and also use the flat of your fingers rather than the tips.
- Always apply a little and repeat if you don’t feel confident with application. Note that you may need to apply a touch more after all makeup is applied i.e. eyeshadow and lip colour as it may look less visible once other colours are applied.
Placement of Blusher
- Everyone has a different face shape so if you imagine that where you put blusher will make that area look fuller. So when applying blusher it is important to consider where you place it. Placing it on the cheekbones can really hide cheekbones and placing it all over the full cheek could make cheeks look fuller. So the best thing to do is look at your face and where cheeks are, now smile and look at where they appear. Your aim is to go to the apple area. But note, if your face shape is fuller or wider in the middle of your face, place it on the outer apple of the cheek and sweet towards the tragus. If your face is narrower then place the brush on the full apple and sweep it towards the tragus. The brush should be at a 30/35 degree angle towards the tragus but the rounder the face the angle can be made a touch bigger.
- Provide step-by-step instructions for applying blusher on the following areas:
- I would avoid adding blush in different areas of the face unless you are confident with the colour and application with the cheeks.
Maintenance and Removal
- Blusher can be touched up if needed in the same way you applied it but just use less product. For removal just remove like with the rest of your makeup. Some liquid blushers can stain a little so an oilier cleanser (like what you would use for eyes) will assist with removal.
Apply your blusher with confidence
- Once you have chosen the type and colour of blusher you want to use, blusher can be really easy to apply. Using the right method and tool for application is key for the effect and area you cover with blusher. Trying different types will help you understand your preference with finish and shade. The more you practise the more you will master the application, refer back to this guide if needed and hopefully it will remind you of some of the tips that help.
- I can appreciate this guide is quite in depth. If you’re looking to understand what would be the best type, finish, colour, and area of application for your face shape then take a look at my Coaching sessions. This is where I guide you through everything you need to know for you.